



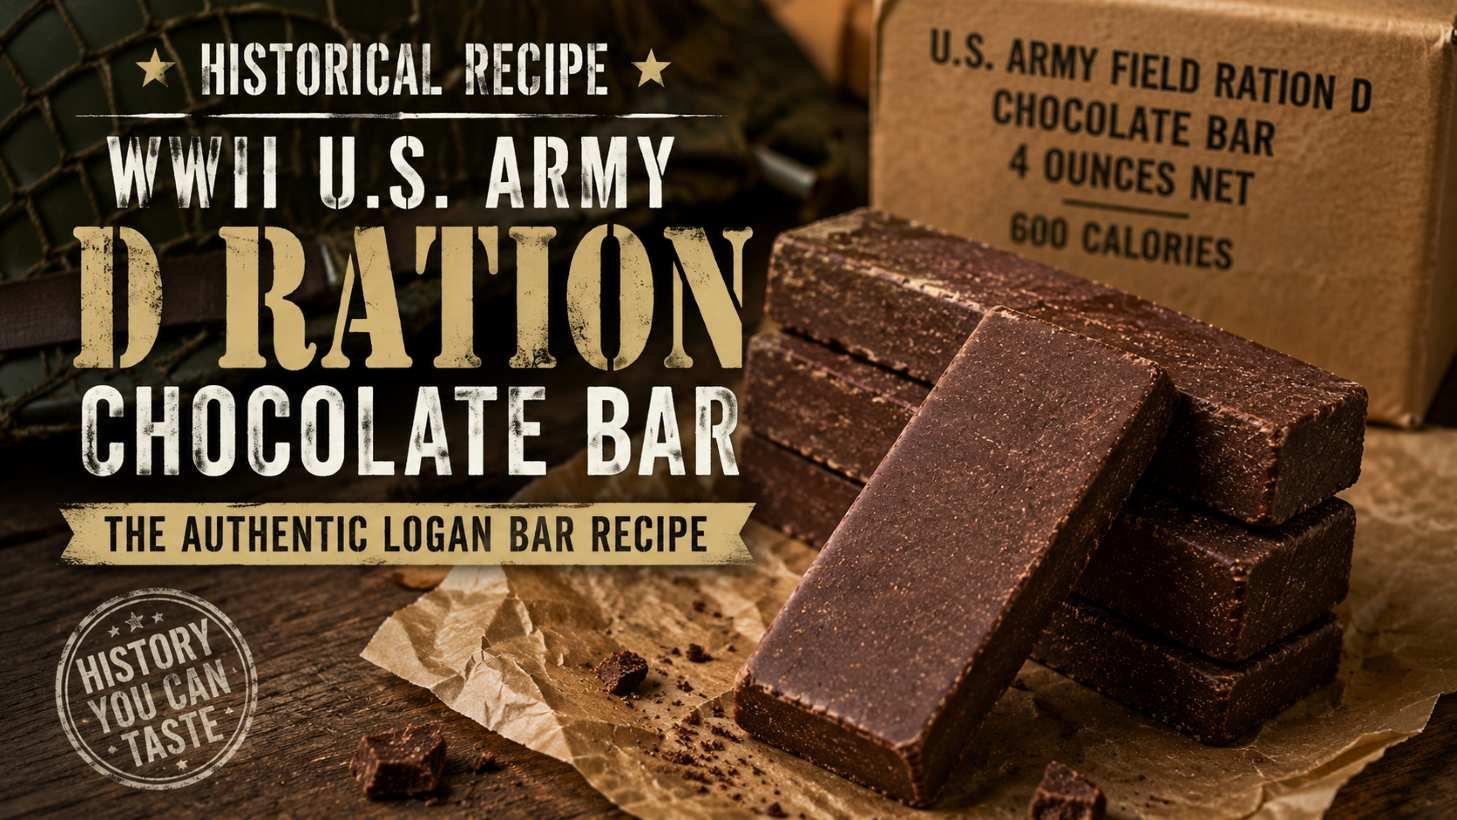

The U.S. Army D Ration—also known as the Logan Bar—was developed in 1937 by Captain Paul Logan of the U.S. Army Quartermaster Corps in partnership with Hershey Chocolate Corporation. Unlike a candy bar, the D Ration was designed as an emergency survival food that could withstand extreme heat, deliver approximately 600 calories per bar, and discourage soldiers from eating it unless absolutely necessary.
The original commercial formula remains proprietary, but surviving Army specifications and Hershey documentation reveal the primary ingredients and design requirements. This recipe recreates those characteristics as closely as possible using ingredients available to modern home cooks.
Recipe Information
Yield: 6 bars
Prep Time: 20 minutes
Cook Time: 15 minutes
Cooling Time: 2–3 hours
Difficulty: Moderate
Historical Design Requirements
The D Ration had four primary objectives:
Approximately 600 calories per bar
Stable in temperatures up to 120°F (49°C)
Compact and durable enough for field use
Taste only "slightly better than a boiled potato"
The final requirement was intentional—soldiers were not supposed to snack on them.
Ingredients
Chocolate Base
160 g unsweetened baking chocolate (100% cacao)
30 g food-grade cocoa butter
Make sure you buy food-grade, as cocoa butter is normally sold as a non-edible cosmetic.
Dry Ingredients
160 g granulated sugar
70 g nonfat dry milk powder
20 g oat flour
½ teaspoon vanilla powder (or ¼ teaspoon vanillin if available)
Vanillin is the historically accurate ingredient, but hard and often expensive to find today.
You can use liquid vanilla extract here, but it will add liquids and therefore may reduce the shelf life.
Pinch of salt
You can check out additional supplements for these bars here: How to Enhance Homemade D Ration Chocolate Bars
Mind you, it was not historically accurate to add these to the bars.
Optional (Historical Fortification)
Vitamin B1 (thiamine) powder, food grade
Equipment
Double boiler or heat-safe bowl over simmering water
Mixing bowl
Rubber spatula
Kitchen scale
Silicone bar molds or parchment-lined baking pan
Heavy rolling pin or wooden block for compressing
Step 1 – Prepare the Dry Ingredients
In a large mixing bowl combine:
Sugar
Powdered milk
Oat flour
Salt
Whisk thoroughly until evenly blended.
Unlike modern chocolate bars, the oat flour is not a filler—it was intentionally included to increase calories while making the bar denser and more difficult to eat.
Step 2 – Melt the Chocolate
Using a double boiler, slowly melt:
Unsweetened chocolate
Cocoa butter
Avoid overheating.
The mixture should become smooth but remain fairly thick.
Step 3 – Combine Everything
Pour the melted chocolate into the dry mixture.
Add the vanilla.
Mix slowly using a sturdy spatula.
At first the mixture will seem far too dry.
Keep working it.
Eventually it becomes a stiff dough similar to modeling clay.
If absolutely necessary, add one teaspoon of warm water at a time, but use as little moisture as possible.
The original bars contained very little free moisture, which contributed to their long shelf life.
Step 4 – Compress
Transfer the mixture into molds or a parchment-lined pan.
Using another piece of parchment, compress the mixture with significant force.
Historically, Hershey used industrial presses to compact the bars.
Home cooks should compress as firmly as possible to recreate the dense texture.
Aim for a thickness of approximately ½ inch (13 mm).
Step 5 – Cool
Allow the bars to cool at room temperature for one hour.
Transfer to the refrigerator for an additional two hours.
Once fully hardened, remove and cut into bars measuring approximately:
4 inches long
2 inches wide
½ inch thick
Storage
Wrap each bar tightly in wax paper or parchment.
Store inside an airtight container.
Properly stored bars will last several months in a cool, dry location.
For maximum shelf life, vacuum sealing is recommended.
What to Expect
If you've never eaten a D Ration recreation before, don't expect a candy bar.
A proper recreation should be:
Extremely dense
Very hard
Slightly bitter
Dry
Difficult to bite
Slowly softens while being chewed
Many soldiers shaved pieces off with a knife or softened the bars in hot coffee before eating.
Estimated Nutrition (Per Bar)
Calories: ~575–625
Protein: 10–13 g
Fat: 28–32 g
Carbohydrates: 65–70 g
Historical Notes
The D Ration entered Army service in 1939 and remained in use throughout World War II before eventually being replaced by the Tropical Bar and other emergency rations.
Although often criticized by soldiers, the bars accomplished exactly what they were designed to do. Their dense texture prevented accidental overconsumption, their heat resistance made them practical in harsh climates, and their calorie density provided emergency nutrition when conventional food wasn't available.
One soldier famously joked that the bars were "hard enough to stop a bullet."
Modern Recreation vs. Historical Recreation
While this historical recipe stays as close as possible to documented WWII ingredients, many modern cooks prefer a version that's easier to prepare and more enjoyable to eat. The modern adaptation often incorporates honey, corn syrup, or additional chocolate to create a softer texture and sweeter flavor.
Historical Recreation | Modern Recreation |
|---|---|
Closely follows documented WWII ingredients | Inspired by the D Ration but designed for modern tastes |
Extremely dense and hard | Softer and easier to bite |
Low sweetness | Noticeably sweeter |
Better represents the soldier's experience | Better for casual snacking and hiking |
Long shelf life due to low moisture | Slightly shorter shelf life because of added moisture |
More heat resistant | More likely to soften in warm weather |
Difficult to make without strong mixing and compression | Easier for beginner bakers |
Which Version Should You Make?
Choose the Historical Recreation if you:
Enjoy military history.
Want an authentic museum-style experience.
Are interested in survival food and historical rations.
Want to understand what Allied soldiers actually carried during World War II.
Choose the Modern Recreation if you:
Want something enjoyable to eat.
Need an energy bar for hiking or camping.
Prefer a softer texture and richer chocolate flavor.
Want a recipe that's easier to make with common kitchen ingredients.
Both recipes pay tribute to one of the most iconic emergency rations in military history. The historical version offers a fascinating glimpse into wartime engineering and logistics, while the modern adaptation captures the spirit of the original in a form that's far more approachable for today's home cooks.
Shelf Life Note: The historical-style D Ration has the advantage for long-term storage because it uses very low-moisture ingredients and relies on cocoa butter, sugar, powdered milk, and oat flour rather than syrups or added water. Properly wrapped and stored in a cool, dry place, it may last several months to a year or more. The modern version is easier to eat and more enjoyable, but ingredients like honey, corn syrup, butter, or added water reduce its shelf life, making it better suited for short-term use, hiking, camping, or refrigerated storage.
Join the conversation
You can post now and register later. If you have an account, sign in now to post with your account.